


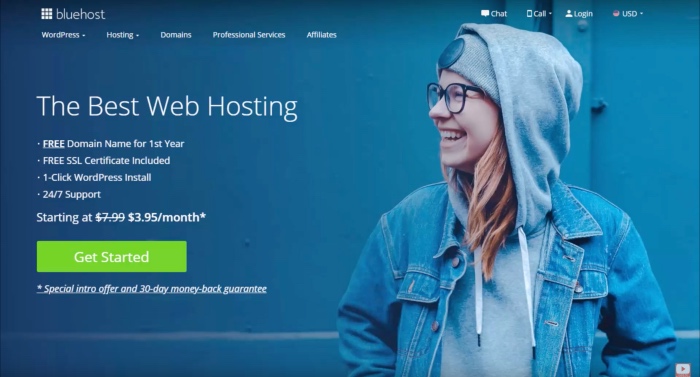
Bluehost Web Hosting
Launch your website or blog today on Bluehost, the hosting company recommended by WordPress!
Buy NowI may earn a commission if you purchase using my links which helps support this website.
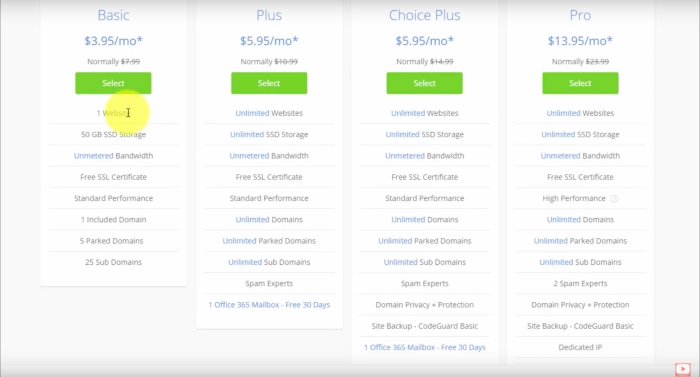
Step #1: Choose Your Hosting Package
Let’s click the Get Started button because we want to set up one domain and one website.
They do have options for unlimited websites, but in this case, we just need one website. So we’ll stick with the Basic package and click the Select button.
That’ll take us to a page where we get to select our domain. Either Create a new domain (they offer free domain registration) or if you already have a domain registered you can Use a domain you own to get set up with Bluehost.
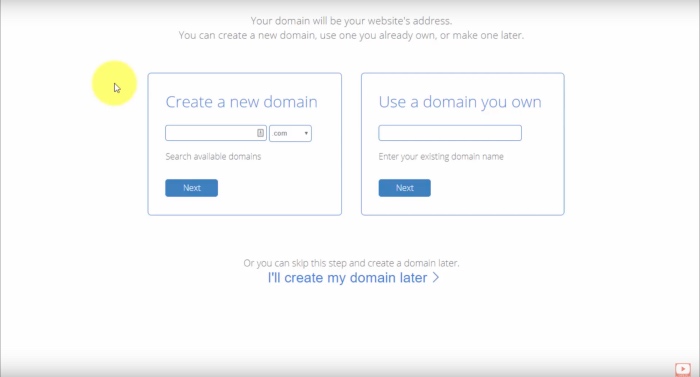
If you’re not sure what domain to pick up, I highly recommend that you grab your full name – first & last – with a COM extension.
At the very least, you’ll have that registered and you can always change it or buy another one down the road to transfer.
Enter your new domain and the system will check if it is available. You’ll receive a message and continue to the next screen if it is successful.
Next, let’s go through the checkout page.
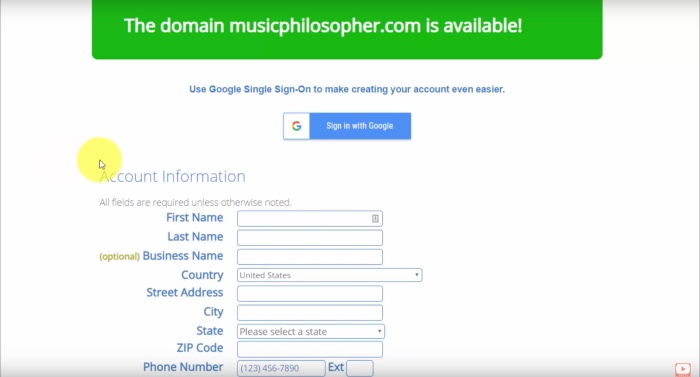
They give you the option to use your Google account which makes creating an account even easier. I highly recommend you do that if you have a Google account to link up.
Let’s start filling out the form.
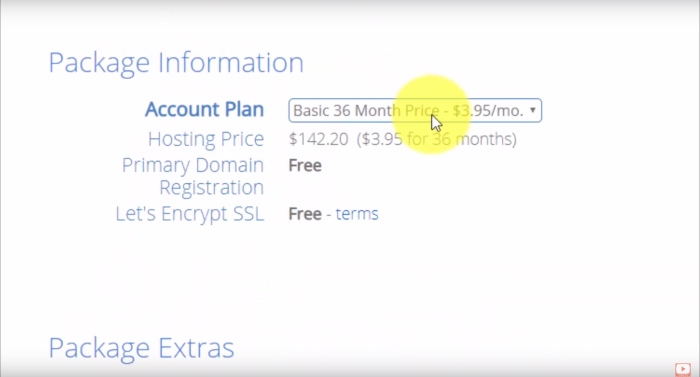
Continuing down, you’ll find the Package Information section. Choose between a one, two, or three-year term (which is going to give you the best monthly price overall).
This is completely up to you based on what you can afford right now, but I highly recommend going for the longest term to lock-in the lowest cost for an extended period.
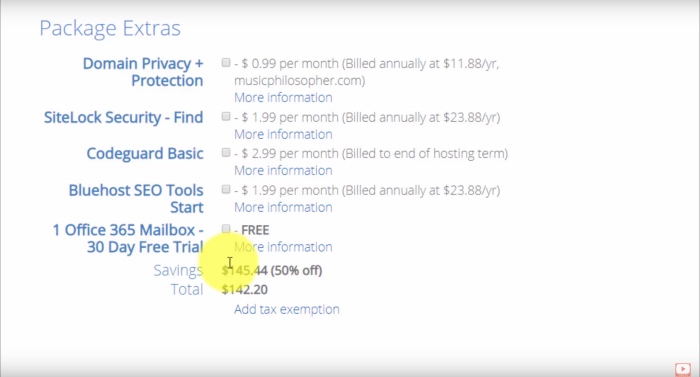
Further down, they have Package Extras that we can add-on. We’re just going to disable all of these because they’re not needed. You can find WordPress plugins that do similar things as these extras, many of them for free.
The one to consider is Domain Privacy + Protection. Without it, people can easily look up your contact information through your domain name. Sometimes that information is out there anyway on other sites for various reasons, but that is completely up to you if you want to add on the privacy or save the $12/year.
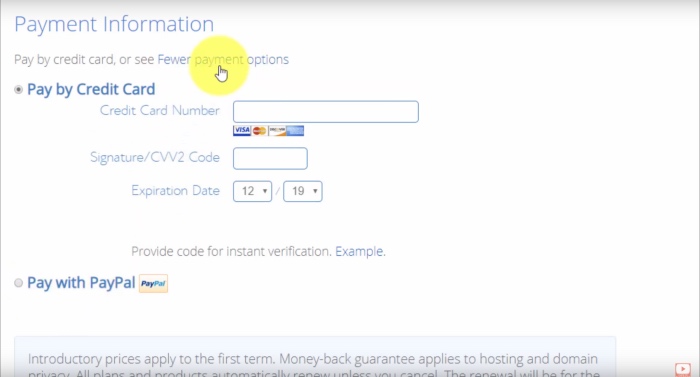
Heading down to the Payment Information section, you can pay by credit card or they give you the option to complete the purchase with PayPal.
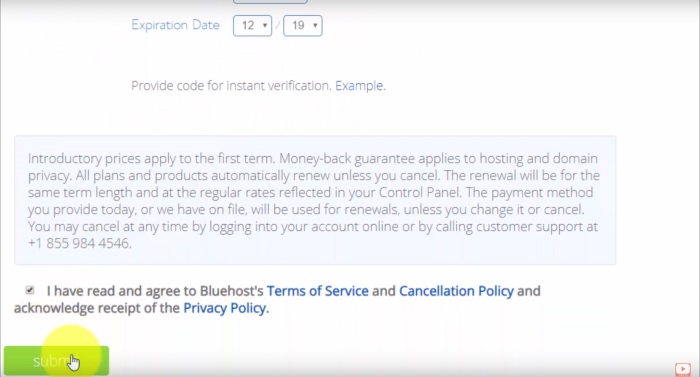
Double-check all of your information is correct and once you’re done all you need to do is click the checkbox to accept Bluehost’s terms and hit the Submit button.
Once the order is complete, you’ll reach a landing page where it tells you that your purchase was a success. They give you the email address that the confirmation email was sent to and you have a receipt that you can download.
Step #2: Create Your Hosting Account

Click the blue Create Account button to get your Bluehost account set up.
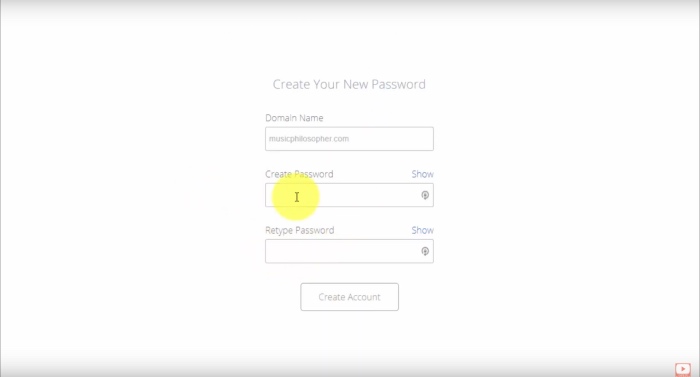
That brings us to a page to set the password, and our domain name is used as the Bluehost user login. It will fill the Domain Name field for you, so go ahead and create a password and click Create Account.
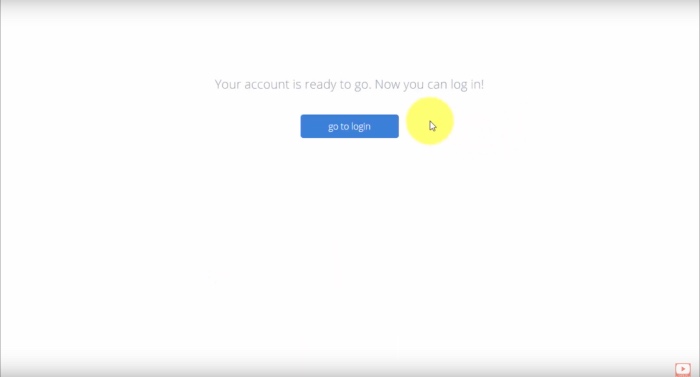
When this process is complete, you’ll get the message, Your account is ready to go. Click the Go To Login button.
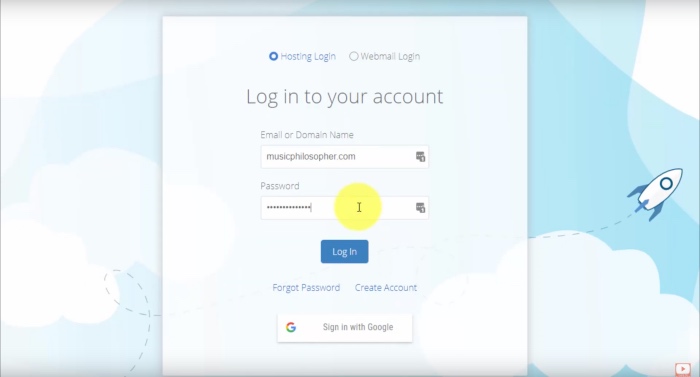
Here’s our login page which you’ll use to access your Bluehost account. If you used your Google account, you can sign in with that as well.
There’s a little account wizard you can go through if you like. For this tutorial, I’m just going to skip it to get to WordPress.
Here we have our account dashboard. They have a little guide on how to start where they recommend that you customize your design, add a contact page, add content to your site, and all that kind of good stuff that you’re going to be doing once you’re launched.
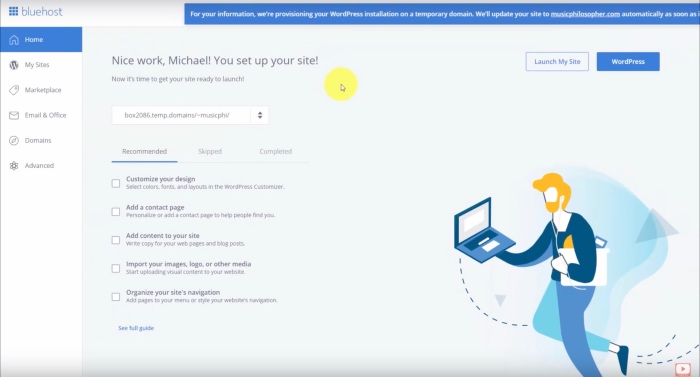
They also give you a pop-up notification at the top of the screen alerting that they’re provisioning our WordPress installation on a temporary domain. It’s going to automatically update to our domain that we just registered as soon as it’s ready. This is a common thing – it takes up to 24 hours for that to work properly, though it’s often much quicker.
On the left-hand panel, this is where you can view extra details about your Bluehost account and access things like your sites and domain management.
For now, we’re going to focus on the two big buttons up on the top right-hand side – Launch My Site and WordPress.
Let’s start by clicking the WordPress button.
Step #3: Create Your WordPress Website
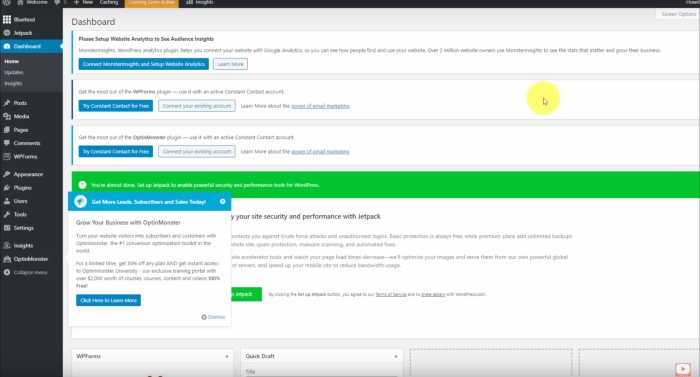
This takes us right to our WordPress admin screen. They automatically install WordPress for you, which is an advantage to other web hosting companies where that requires an extra step!
The first thing that you’re going to see here are a bunch of pop-ups and messages. One thing all of these hosting companies do is preload WordPress with plugins. Personally, I prefer to delete them all and only add back the plugins that are essential for the website or blog that I’m creating.
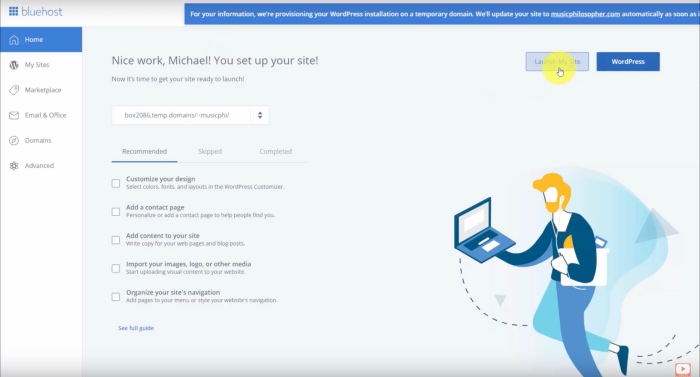
Let’s head back to the Bluehost portal and click Launch My Site so we can take a look at the design that we get when we pre-install WordPress.
It’s a very basic layout, but you can start blogging immediately, and that’s the most important thing.
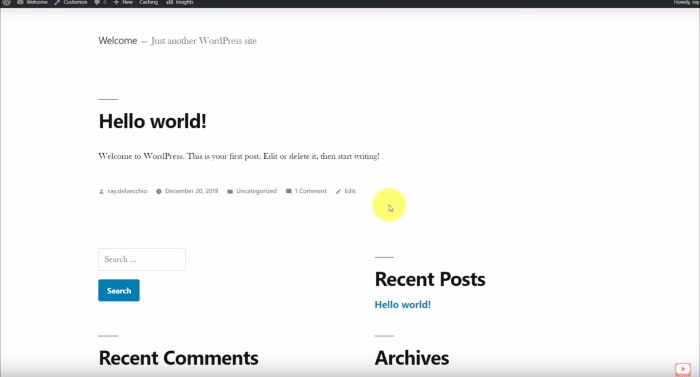
Over time, you’re going to become more comfortable with how to edit your WordPress website and that’s when you can slowly craft a design that really fits you and your goals.
Next Steps
If that seemed easy enough for you, don’t wait any longer. Take action on your website idea and launch now with Bluehost!
Bluehost Web Hosting
Launch your website or blog today on Bluehost, the hosting company recommended by WordPress!
Buy NowI may earn a commission if you purchase using my links which helps support this website.