
Are you ready to install WordPress on HostGator to launch your blog or website?
In this tutorial, we will go through the step-by-step process of signing up for HostGator web hosting and setting up WordPress to help you create your online platform the way the pros do it!
HostGator WordPress Tutorial
Step #1: Select Hosting Package
>> Start with HostGator using my special discount code <<
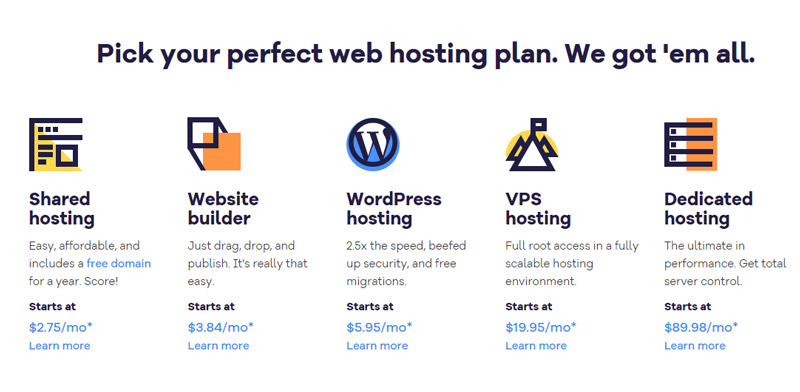
HostGator provides many web hosting options including:
✅ Shared Hosting
✅ WordPress Hosting
✅ VPS Hosting
✅ Dedicated Hosting
✅ Reseller Hosting
✅ Website Builder
It can get confusing fast for a website newbie, and if you’d like a more in-depth explanation of each type, read this web hosting tutorial for beginners.
You might think it’s obvious that you need WordPress hosting if you’d like to launch a WordPress blog or website – but that isn’t true!
Beginners can start with the most affordable option which is Shared hosting.
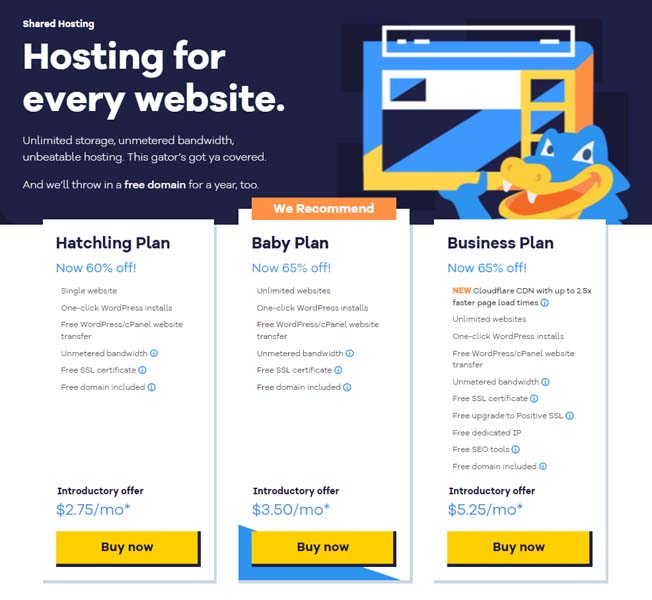
If you are creating one website, the Hatchling Plan is perfect for you.
If you’d like to launch several websites, the Baby Plan gives you unlimited domains.
I recommend picking one of these two vs. the Business Plan since you can always upgrade down the road if you need more features.

Launch with HostGator
Setup WordPress in minutes! 👇
Start NowI may earn a commission if you purchase using my links which helps support this website.
The first thing you want to do is pick your domain name, or you can use a domain registered with another company (like GoDaddy) by selecting the “I Already Own This Domain” tab.
HostGator offers you 1-year of FREE domain registration when paired with select annual hosting plans!
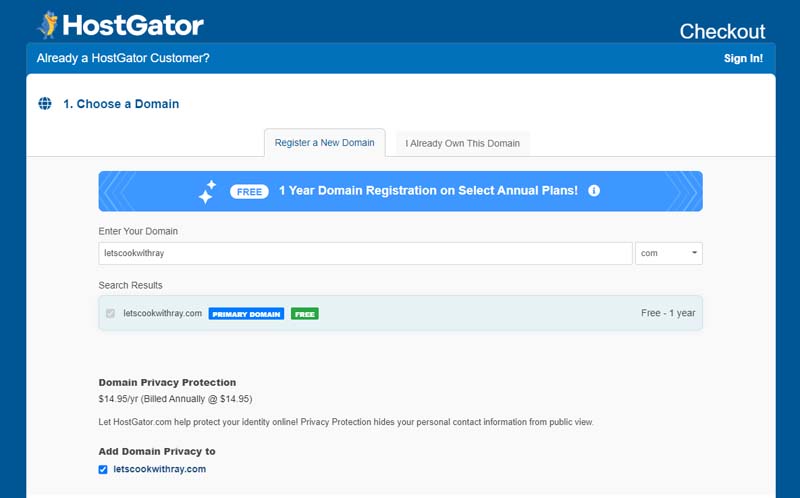
When you type in the domain name and select your preferred domain extension, they will instantly check to see if it’s available.
You can choose whether to add domain privacy protection. If not, your registration and contact details will be public information, and that can sometimes mean you’ll be subject to spam emails or promotions.
Choose the hosting package type and pick your preferred billing cycle. You’ll get the biggest discount if you go for the most extended term of 36-months.
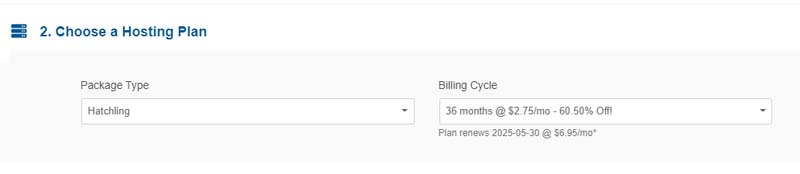
I recommend the longest term (36-months) if you can afford it since that will drastically reduce your monthly cost. A good middle ground is 12-months, so you’re not paying a premium under their monthly option.
Either term will give you plenty of time to get up to speed with learning WordPress!
The cost of starting your WordPress website or blog is roughly a cup of coffee each month – next to nothing to get online, learn “hands-on” digital marketing, and potentially earn some cash down the road.
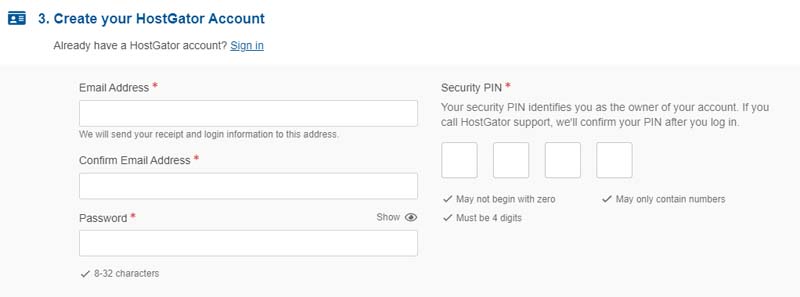
Next up, you can create your HostGator account that you’ll use to manage your domain registration and web hosting plan(s).
Fill out your billing info and choose whether you want to pay with a credit card or PayPal account.

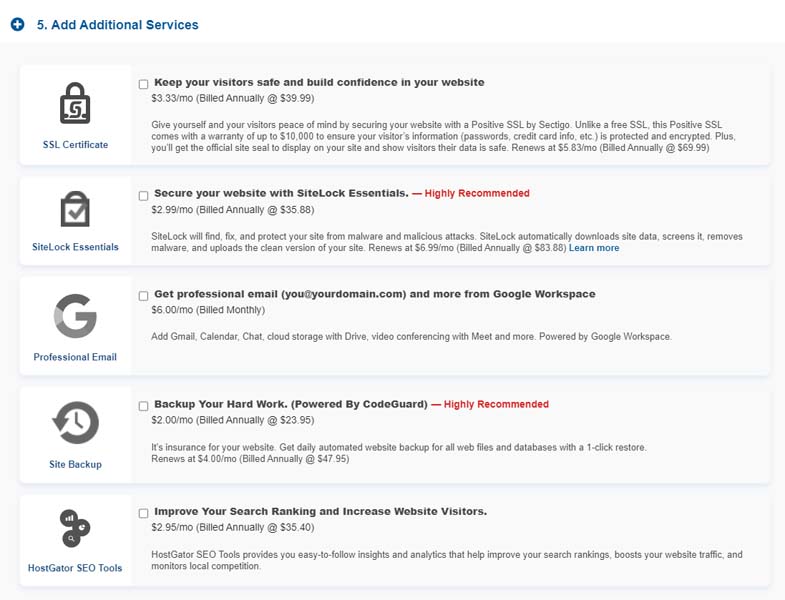
You can add-on several services, however, I prefer to uncheck all of these to give you the lowest price.
The beauty of WordPress is there are over 59,000 free plugins that allow you to implement similar features like security and backups.
Plus you can easily create a custom domain email address and link that to your free Gmail account.
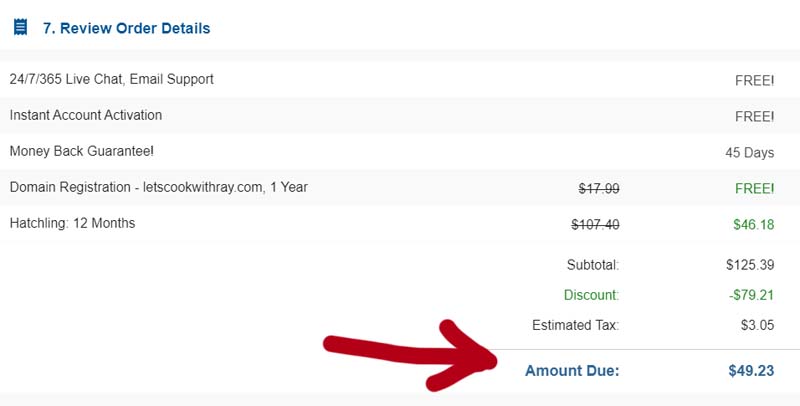
Review your order details, click the checkbox to accept the renewal terms, and hit that “Checkout Now!” button to complete your web hosting purchase.
Step #2: HostGator Portal Tour
You’ll get redirected to the HostGator customer portal where you can handle billing, check your renewals, and access customer support.
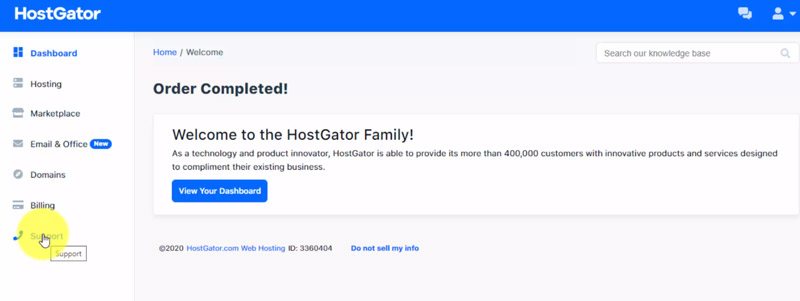
Your HostGator portal is where you control the billing for your account, including domains, hosting, plus any add-ons you’ve purchased.
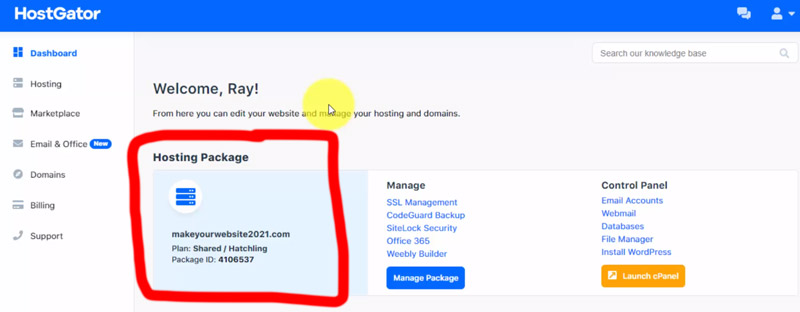
From the Dashboard, you’ll see the hosting package that you’ve just created with links to manage it.
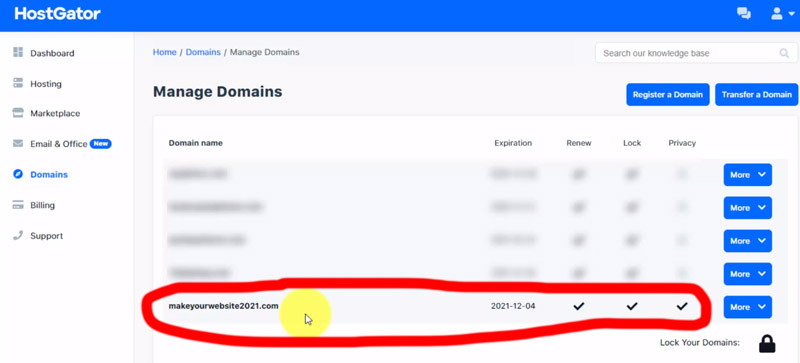
Then we’ll go over to the Domains section to view each domain you’ve registered along with their expiration, auto-renew status, and whether you’ve included domain privacy.
One important technical note to understand is something called domain propagation.
After you register your domain, it can take anywhere between a few minutes up to 48 hours for your hosting package to be linked to your domain name. Many servers across the world need to be updated so that when you type in your domain name, they know HostGator is where all your web files are stored.
Before this happens, you’ll likely see a note within your HostGator Domains section that domain provisioning is in progress. Just give it a day or two, and everything should be working fine!
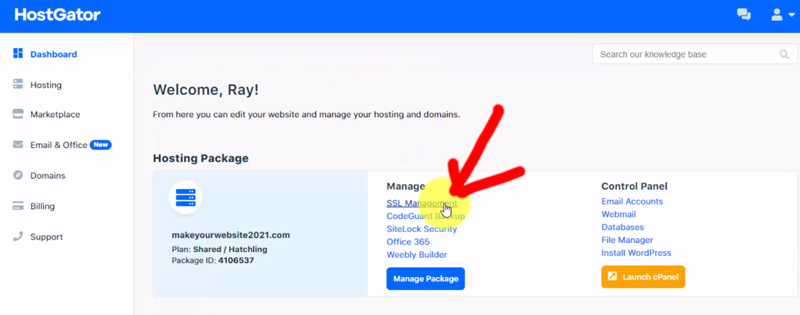
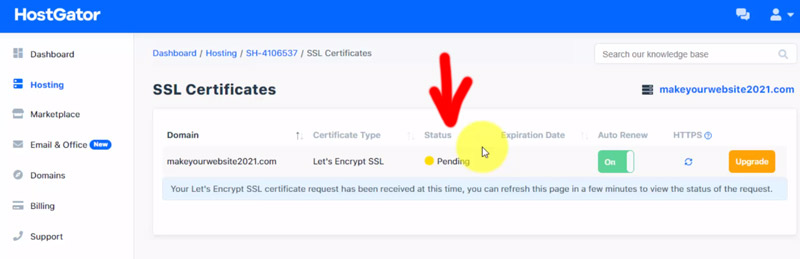
The next feature that you absolutely want is to enable SSL, which makes your WordPress website load over the secure HTTPS protocol vs. HTTP without encryption.
To check the SSL status, return to your HostGator Portal Dashboard, and select SSL Management under your Hosting Package.
Similar to domain provisioning, this may take a little time for the SSL certificate to be created and linked to your domain name, which gives you the padlock icon when you load the website on your browser.
As you can see from the image below, if your SSL status is listed as Pending, just wait until it’s good to go before moving onto the next step. Alternatively, you can install WordPress on HTTP and then once your SSL certificate is installed, you can switch over to HTTPS.
Step #3: Log in to Your Control Panel
HostGator will follow up with confirmation emails, and you’ll want to find the one with your Control Panel account info as shown below.
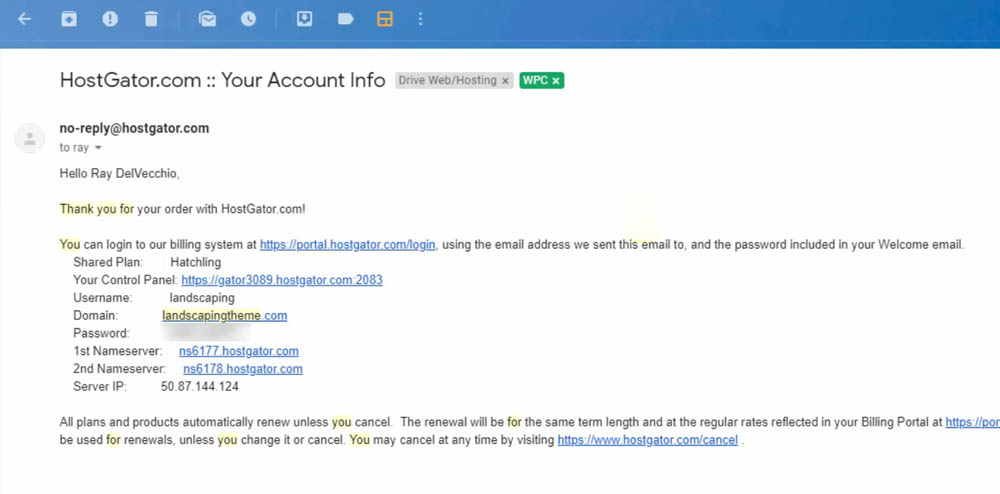
Click the link in that email and login to your HostGator Control Panel.

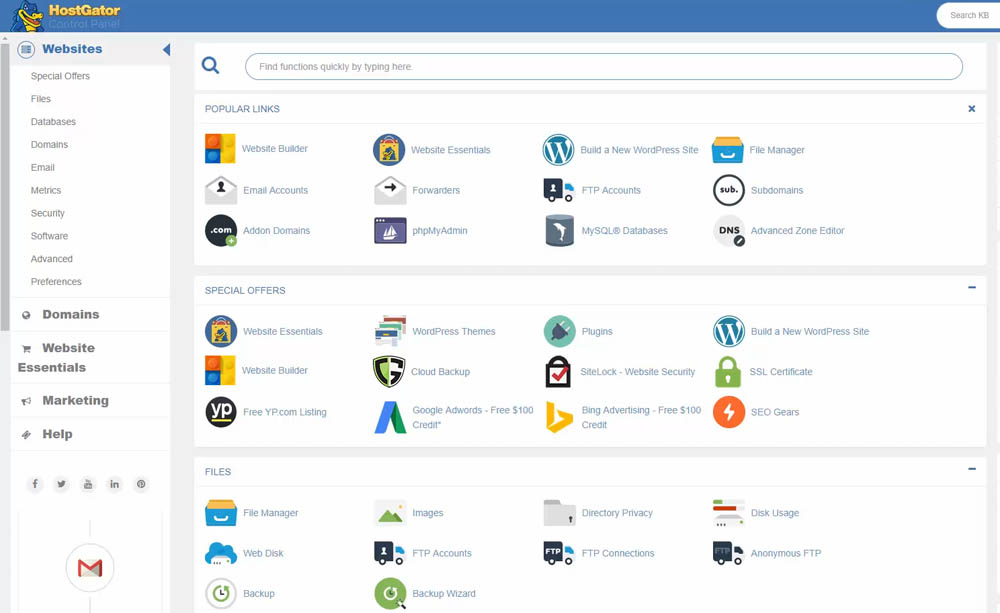
Here is a look at the Control Panel dashboard where you can manage things like email accounts, files on your web server, databases, and much more.
WordPress runs on PHP which is a scripting language for web development. For maximum compatibility, HostGator may not have the latest version installed on your web server (otherwise some of their customer WordPress websites would break).
Don’t worry, it’s easy to change this to the latest version.
Within your cPanel, scroll down to the Software section and click on MultiPHP Manager.
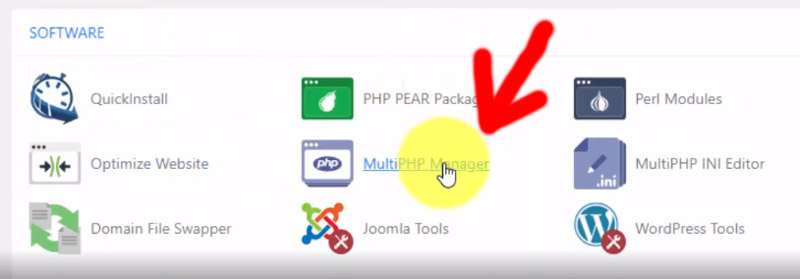
Take a look at the System PHP Version, you’ll see something like eig-php54, which means PHP version 5.4.
I highly recommend that regardless of what version is currently showing, you select your domain name from the Set PHP Version per Domain section and choose the latest version from the PHP Version dropdown menu, then click Apply.
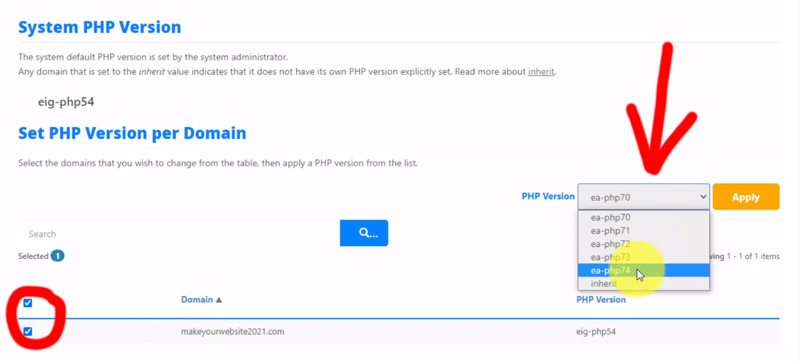
The newest version of WordPress requires you to be on PHP version 7 or higher. If you forget this step, you may encounter an error while attempting to install WordPress!
Step #4: Install WordPress on HostGator Account
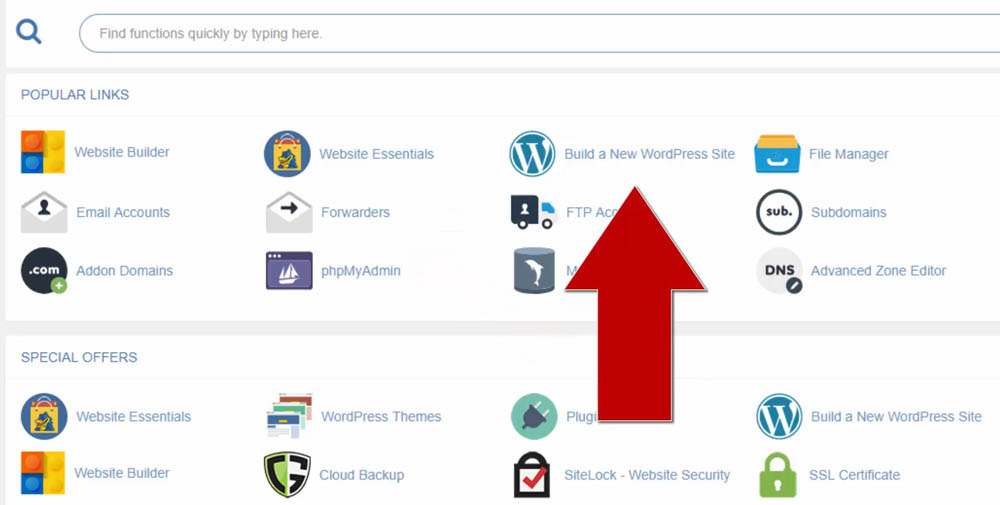
Click the “Build a New WordPress Site” link which will launch the installation wizard.
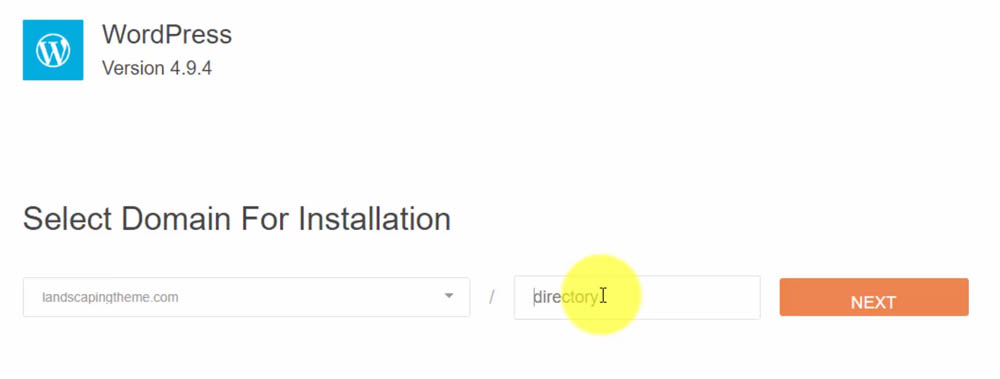
Pick the domain you want to install WordPress on from the dropdown menu and optionally choose a subdirectory. I leave this blank and install on the top-level domain 99% of the time.
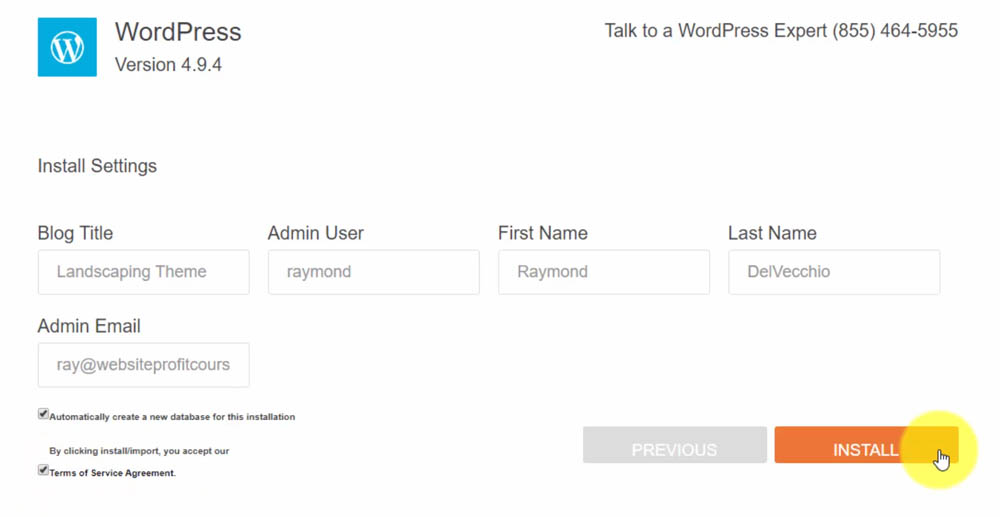
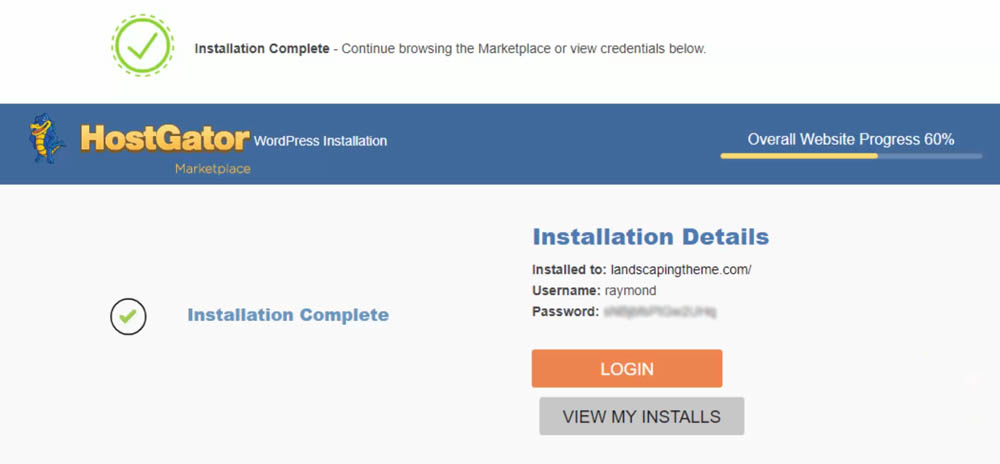
Fill in your WordPress website details and create an administrator account, then click the install button.
When the installation is complete, you’ll get a username and password to manage your WordPress website.
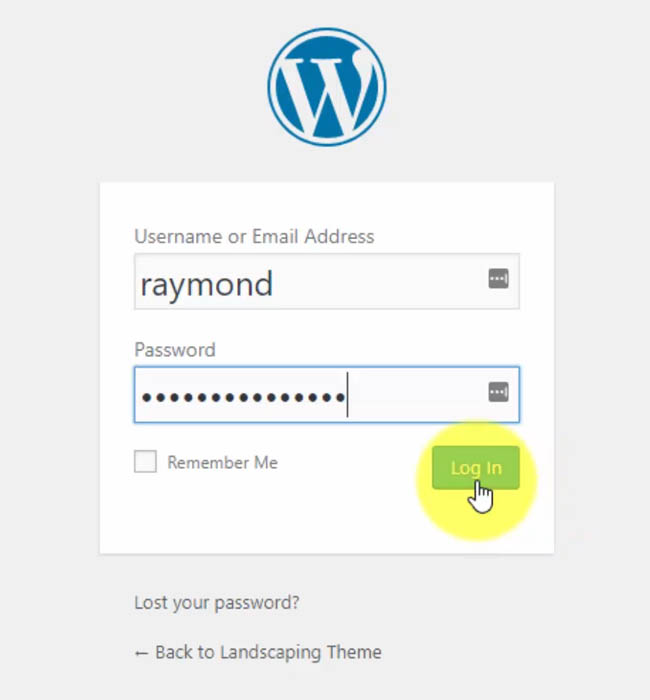
Step #5: Log in to WordPress & Visit Website
Go to yourdomain.com/wp-admin to reach the WordPress login page, and test your new account.
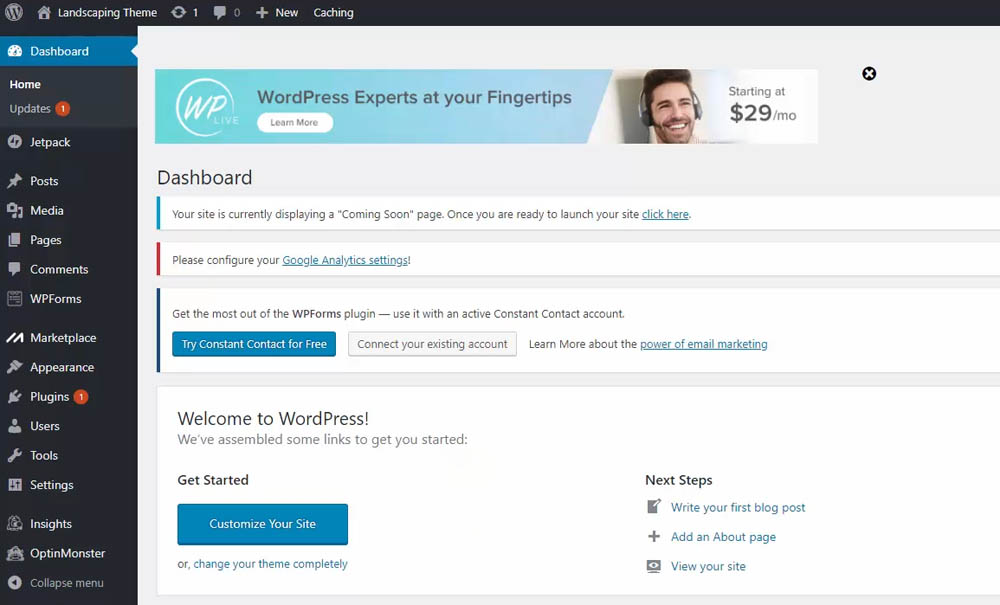
Below is a look at your WordPress dashboard, and you can review each section from the left panel menu to see how it is all put together.
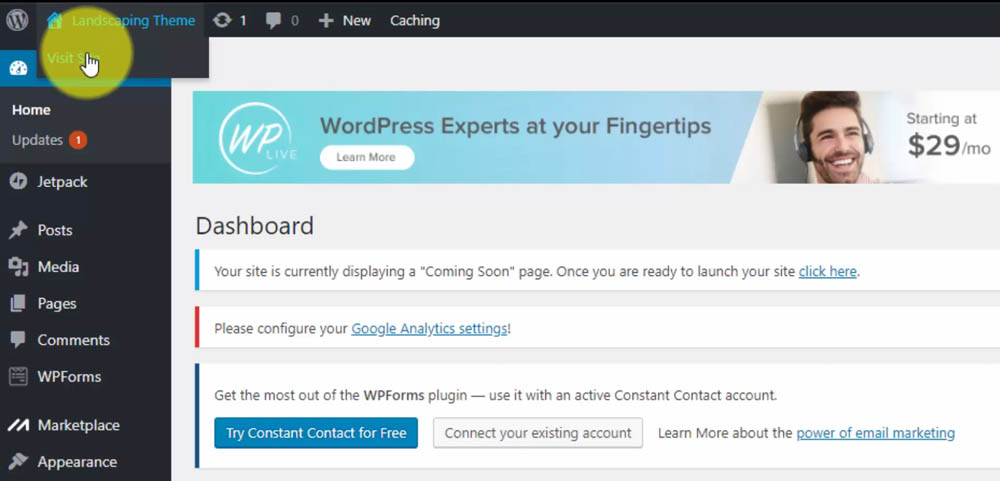
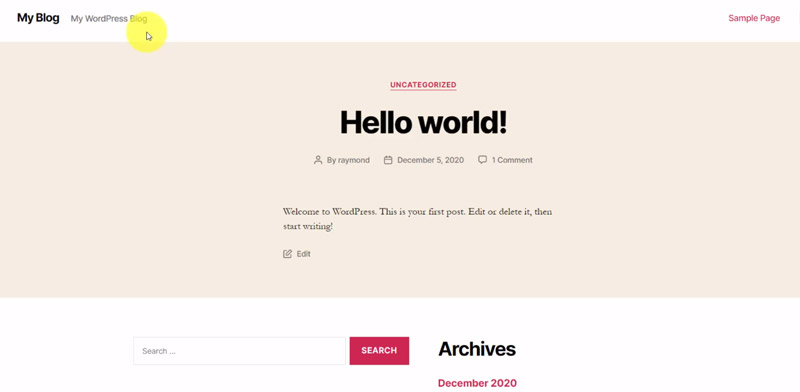
If you hover over your website name in the top navigation bar, you’ll see a link to Visit Site.
Here’s a look at our website using the default WordPress theme, Twenty Twentyone. You may have a few new or older versions which are named by the year they are released.
It’s time to build your WordPress website with great content and design. That is how you’ll reach a wider audience and make a more considerable impact.
Now that you know how to install WordPress on HostGator, learn basic web design and use your skills to make money freelancing by managing other people’s WordPress sites!
>> Start Your Website Now with HostGator! <<
Launch with HostGator
Setup WordPress in minutes! 👇
Start NowI may earn a commission if you purchase using my links which helps support this website.
Learn WordPress Fast
If you need help once you have WordPress installed, join the free training below to get more tutorials on how to use WordPress to design a website!